最小示例#
本页面展示了一个使用mybinder作为内核(即计算后端)提供程序来运行Thebe的最小设置。本指南将逐步介绍加载Thebe并激活它,以使您的代码单元格变得活跃。
加载和配置Thebe#
为了使用Thebe,我们必须首先设置其配置。这必须在从CDN或本地脚本加载Thebe之前完成。
以下是Thebe的示例配置
<!-- Configure and load Thebe !-->
<script type="text/x-thebe-config">
  {
    requestKernel: true,
    binderOptions: {
      repo: "binder-examples/requirements",
    },
  }
</script>
在这种情况下,requestKernel: true 要求Thebe在加载后立即请求内核,binderOptions提供了Binder将使用的存储库以提供给我们内核。
接下来,我们将从CDN加载Thebe:
<script src="https://unpkg.com/thebe@latest/lib/index.js"></script>
放置按钮并添加启用Thebe的JavaScript是通过以下代码完成的:
<button id="activateButton"  style="width: 150px; height: 45px; font-size: 1.5em;">Activate</button>
<script>
var bootstrapThebe = function() {
    thebelab.bootstrap();
}

document.querySelector("#activateButton").addEventListener('click', bootstrapThebe)
</script>
添加代码单元格#
最后,我们将添加Thebe可以激活的代码单元格。默认情况下,Thebe会查找具有data-executable="true"的任何HTML元素。还将添加data-language="python"属性以启用CodeMirror的语法高亮显示。
print("Hello!")
Hello!
以下是创建上述单元格的代码:
<pre data-executable="true" data-language="python">print("Hello!")</pre>
按下上方的Thebe按钮以激活此单元格,然后按“运行”按钮或“Shift-Enter”执行此单元格。
备注
在此示例中激活Thebe时,它必须首先向Binder请求内核。这可能需要几秒钟的时间。
现在让我们尝试另一个生成Matplotlib图表的单元格。因为我们已经配置Thebe使用具有Numpy和Matplotlib的环境的Binder,所以一切按预期工作。尝试修改单元格内容并重新运行!
这是另一个带有绘图功能的单元格。再次按Shift-Enter!
%matplotlib inline
import numpy as np
import matplotlib.pyplot as plt
x = np.linspace(0,10)
plt.plot(x, np.sin(x))
plt.plot(x, np.cos(x))
[<matplotlib.lines.Line2D at 0x7faab05a54c0>]
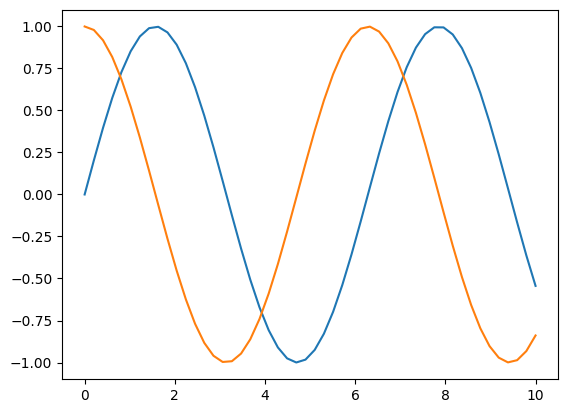
由下面代码生成
<pre data-executable="true" data-language="python">
%matplotlib inline
import numpy as np
import matplotlib.pyplot as plt
x = np.linspace(0,10)
plt.plot(x, np.sin(x))
plt.plot(x, np.cos(x))
</pre>